8 min read
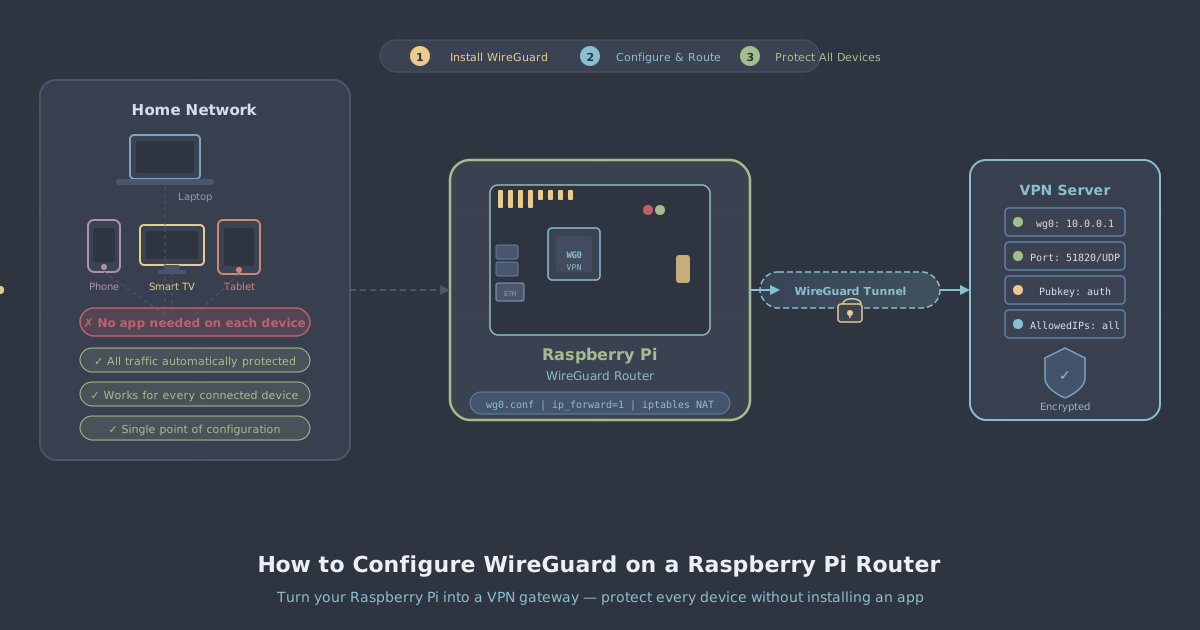
Most people install a VPN app on their phone or laptop and call it done. That works fine for those devices, but it leaves everything else on your network completely unprotected—your smart TV, games console, streaming stick, smart speakers, and whatever else is quietly connected to your router. None of those devices can run a VPN app on their own.
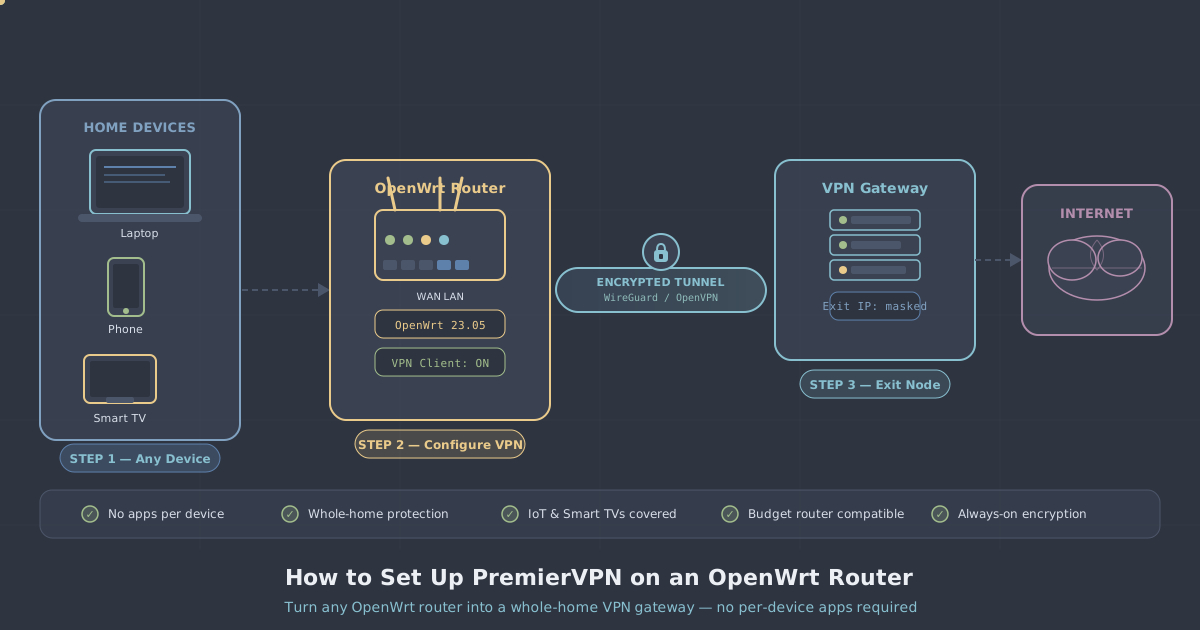
Installing a VPN directly on your router solves this at a stroke. Every device that connects to your home Wi-Fi automatically routes its traffic through the VPN tunnel, with no individual app required. You configure it once, and it stays on.
This guide covers the full process: checking whether your router supports it, downloading the right configuration files from PremierVPN, loading them onto your router, and confirming the connection is actually working before you rely on it.
Is Your Router Compatible?
Not every router supports VPN client mode out of the box. The key distinction is between a VPN server (which many routers offer) and a VPN client (which routes outbound traffic through an external VPN). You need client mode.
Routers most likely to support this include:
- ASUS routers — most mid-range and above models include OpenVPN client support in their standard firmware (look under Advanced Settings > VPN)
- GL.iNet routers — designed with VPN use in mind; OpenVPN and WireGuard client modes are built into the default interface
- Netgear Nighthawk and Orbi — select models support OpenVPN client mode
- Routers running DD-WRT, OpenWrt, or Tomato firmware — these open-source firmware projects add OpenVPN and WireGuard client support to many routers that lack it by default
Standard ISP-supplied routers—the ones handed out with a broadband contract—almost never support VPN client mode. If that is what you have, you have two options: replace it with a compatible router, or place a compatible router behind it in a double-NAT configuration.
Check your router's admin interface or its manual for "VPN Client" or "OpenVPN Client" under network or advanced settings. If you cannot find it, the firmware almost certainly does not support it.
What Protocol to Use
OpenVPN is the most widely supported protocol for router-level VPN configuration. Nearly every router firmware that supports VPN clients accepts OpenVPN .ovpn configuration files, which makes it the practical choice for this setup.
WireGuard is faster and more efficient, and PremierVPN supports it as the default protocol in its Windows, macOS, and mobile apps. Some routers—particularly those running OpenWrt or GL.iNet firmware—also support WireGuard client mode. If yours does, it is worth using. The configuration process is similar in principle but uses different file formats and a separate set of credentials.
This guide focuses on OpenVPN, since it covers the widest range of router hardware. The underlying concepts apply to WireGuard configuration as well.
Step 1: Get Your OpenVPN Configuration Files
Log in to your PremierVPN account dashboard. Navigate to the manual configuration or downloads section and locate the OpenVPN config files. You will find .ovpn files for each available server location.
Choose a server location based on what you need. If you want to protect your traffic generally, pick a server geographically close to you to minimise latency. If you are routing through the VPN for a specific purpose—accessing a particular country's content, for example—pick accordingly. You can find the full list of available locations at PremierVPN server locations.
Download the .ovpn file for your chosen server. You will also need your VPN username and password, which are listed in your account dashboard. Note that these are often different from your account login credentials—many providers generate separate VPN credentials specifically for protocol-level authentication.
Step 2: Log In to Your Router
Access your router's admin interface by typing its local IP address into a browser. The most common addresses are 192.168.1.1 or 192.168.0.1. If neither works, check the label on the back of your router or look up the default gateway address on a connected device:
- Windows: open Command Prompt and run
ipconfig— look for "Default Gateway" - macOS: open Terminal and run
netstat -nr | grep default - Linux: run
ip route | grep default
Log in with your router's admin credentials. If you have never changed these, they are usually printed on the router itself. Change them if they are still set to the factory default.
Step 3: Configure the OpenVPN Client
The exact menu path varies by router firmware, but the process follows the same pattern across most interfaces.
ASUS Routers
- Go to Advanced Settings > VPN > VPN Client
- Click Add profile
- Select OpenVPN
- Give the profile a name (for example, PremierVPN London)
- Under the Import .ovpn file option, upload the
.ovpnfile you downloaded - Enter your VPN username and password
- Click OK, then Activate
GL.iNet Routers
- Open the GL.iNet admin panel (default address is usually
192.168.8.1) - Go to VPN > OpenVPN Client
- Click Add a New VPN Configuration
- Upload your
.ovpnfile - Enter your VPN credentials when prompted
- Save and connect
DD-WRT Firmware
- Go to Services > VPN
- Enable the OpenVPN Client
- Open your
.ovpnfile in a text editor—you will need to copy sections of it manually into the corresponding fields (Server Address, Port, Tunnel Protocol, and so on) - Paste the certificate and key blocks into the CA Cert, Public Client Cert, and Private Client Key fields respectively
- Enter your credentials and click Save then Apply Settings
DD-WRT's manual entry approach is more involved than the file-import method on ASUS and GL.iNet, but the .ovpn file contains everything you need—it is just a matter of mapping each section to the right field.
OpenWrt Firmware
OpenWrt requires installing the OpenVPN package first if it is not already present. Connect via SSH and run:
opkg update
opkg install openvpn-openssl luci-app-openvpn
Then upload your .ovpn file through the LuCI web interface under VPN > OpenVPN, or place it in /etc/openvpn/ and start the service manually. Full OpenWrt configuration is beyond the scope of this guide, but the official OpenWrt documentation covers it in detail.
Step 4: Verify the Connection
Once the VPN client shows as connected in your router interface, do not assume everything is working—verify it from a device on your network.
On any device connected to your router's Wi-Fi (not the device you used to configure the router), visit PremierVPN's IP leak test. This checks your visible IP address and tests for DNS leaks. You should see:
- An IP address belonging to the VPN server location you selected, not your ISP
- DNS servers that match the VPN, not your ISP's resolvers
- No WebRTC leak exposing your real IP
If your real IP or ISP's DNS servers are still showing, the VPN tunnel is not routing traffic correctly. Common causes include the client not fully connecting (check the router logs), DNS settings on the router still pointing to the ISP, or a firewall rule blocking the VPN traffic.
Practical Considerations
Performance: Your router's processor has to handle VPN encryption for every device on the network simultaneously. Budget and ISP-supplied routers often struggle with this, particularly on fast broadband connections. Mid-range routers with dedicated crypto hardware handle it more gracefully. If you notice significant speed reduction, OpenVPN with AES-128-CBC is lighter on CPU than AES-256-CBC, though the security difference is negligible in practice.
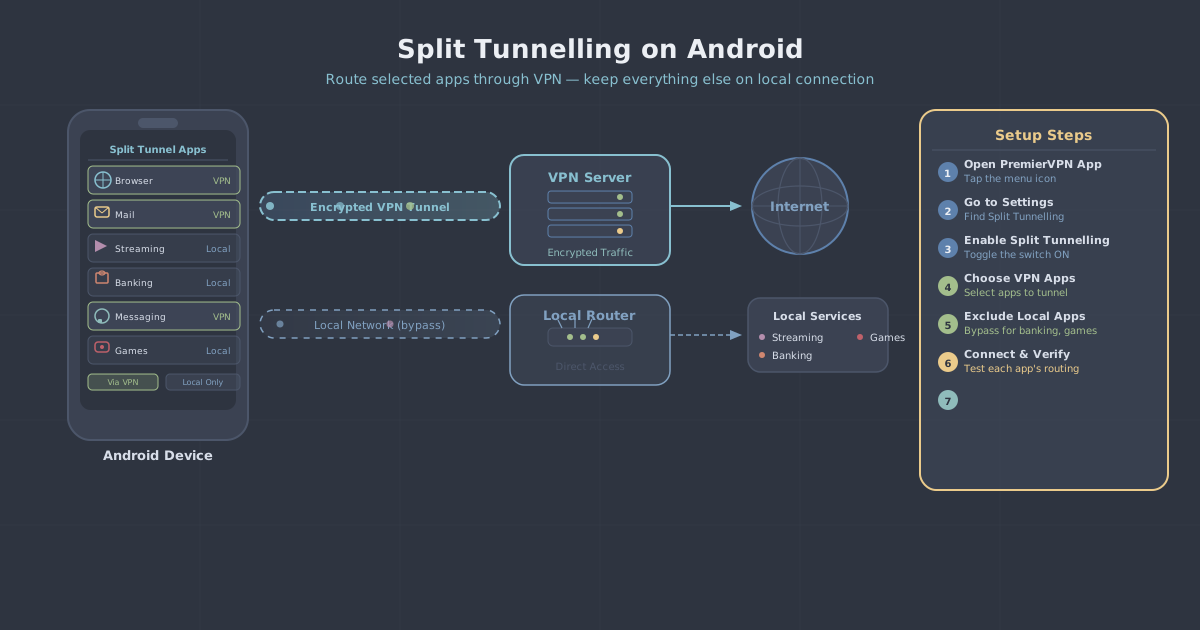
Split tunnelling: Some routers let you route only specific devices or IP ranges through the VPN while the rest use your normal connection. This is useful if you want your TV and console protected by the VPN but do not want to route your smart speaker through it. Check your router's documentation for policy-based routing or per-device VPN routing options.
Kill switch: Unlike the PremierVPN apps—which include a kill switch that blocks traffic if the VPN drops—a router running OpenVPN will typically fall back to your regular connection if the tunnel disconnects. To prevent this, you need to set up firewall rules that block all traffic except through the VPN interface. On OpenWrt and DD-WRT, this is achievable through the firewall settings; on ASUS, the built-in client has a "Block routed clients if tunnel is down" option worth enabling.
Automatic reconnection: Enable the reconnect-on-failure option wherever your firmware offers it. VPN tunnels occasionally drop, and you want the router to reconnect without manual intervention.
When a Router Setup Makes Sense
Router-level VPN configuration is genuinely useful in specific situations. If you have a smart TV you use for streaming and want its traffic routed through a particular server location, see PremierVPN for streaming. If you have a console you use for gaming and want consistent latency protection, see PremierVPN for gaming. If you are working from home and want all your devices covered by a VPN without managing multiple apps, the remote work VPN page covers that use case.
For devices where you can install an app—Windows, macOS, iOS, Android—the PremierVPN app is generally the better choice. It supports WireGuard by default, handles reconnection reliably, and includes a kill switch without any additional configuration. The router approach is best reserved for devices that genuinely cannot run an app themselves.
Summary
Setting up PremierVPN on a home router takes more effort than installing an app, but it gives you network-wide coverage with a single configuration. The process in brief:
- Confirm your router supports OpenVPN client mode
- Download your
.ovpnconfig file and VPN credentials from your PremierVPN account - Import the config into your router's VPN client settings
- Connect and verify the tunnel using the IP leak test
- Configure firewall rules to prevent traffic leaking if the tunnel drops
Done properly, every device on your network—from a games console to a smart fridge—routes through the VPN without any per-device setup. Check the PremierVPN no-logs policy if you want to understand what happens (and what does not happen) with your traffic once it exits the tunnel.