8 min read
A kill switch is one of the most important features a VPN can offer. When your VPN tunnel drops unexpectedly—because of a flaky Wi-Fi connection, a server hiccup, or your device waking from sleep—a kill switch is supposed to cut your internet access immediately, preventing your real IP address from leaking out. Most people turn it on in their VPN settings and never think about it again.
That is the problem. Toggling a setting does not tell you whether it is actually working. A kill switch that fails silently is worse than no kill switch at all, because it gives you false confidence. This guide walks you through a straightforward test you can complete in about ten minutes, using nothing more than a browser and your VPN app—no third-party software, no command-line gymnastics required.
Before you start, it helps to understand exactly what you are testing for, so you know how to read the results correctly.
What a Kill Switch Is Supposed to Do
When your VPN is connected, all your internet traffic is routed through an encrypted tunnel to a VPN server. Your real IP address is hidden; websites see the VPN server's IP address instead. If that tunnel closes unexpectedly, your operating system will typically fall back to your normal internet connection without any warning—your traffic continues flowing, but now it carries your real IP.
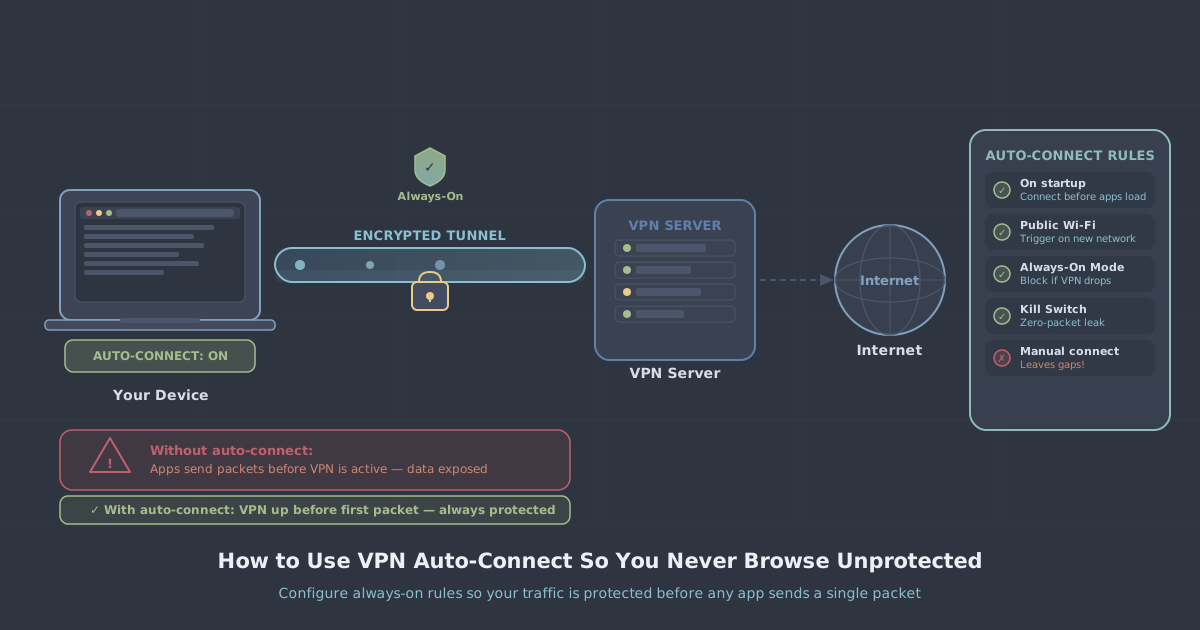
A kill switch prevents that fallback. The moment the VPN tunnel goes down, the kill switch blocks all outbound network traffic at the system level until either the tunnel is restored or you manually disconnect. Nothing gets out—not your browser, not background apps, not system update checks.
There are two common types:
- App-level kill switch: Blocks traffic only for specific apps you nominate. Everything else continues working normally.
- System-level kill switch: Blocks all network traffic on the device. This is the stricter, more reliable option.
The test below is designed to verify a system-level kill switch. If you are using an app-level kill switch, the logic is the same but you need to test specifically with the app you have protected.
What You Need Before You Start
You do not need to install anything new. You only need:
- Your VPN app, connected and running
- A web browser
- PremierVPN's IP leak test page—keep this open in a tab
- Access to your VPN app's settings to enable the kill switch if it is not already on
Make sure you are testing on your normal connection, not a shared or public network where you might not have permission to manipulate your own network adapter.
Step One: Confirm Your Starting State
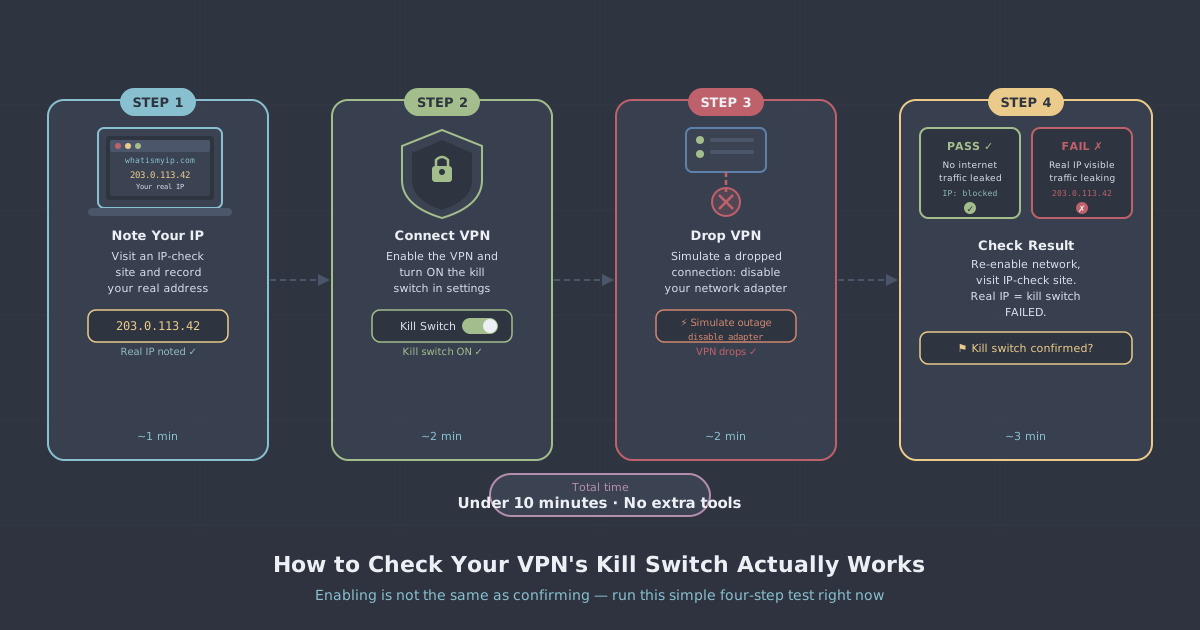
Connect to your VPN as usual. Open the IP leak test in your browser and run it. You should see the IP address of the VPN server, not your real IP. Note down both the VPN IP shown and—if the test reveals it—your real IP. You will compare these results in a moment.
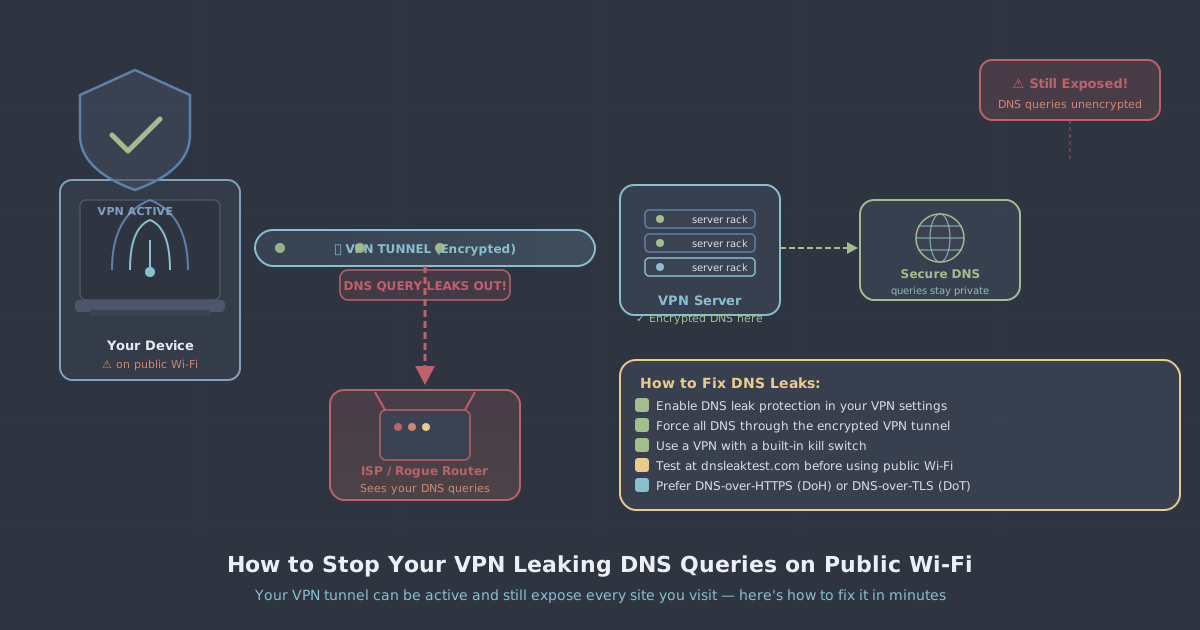
If the leak test already shows your real IP while you are connected, you have a different problem: your VPN tunnel is leaking DNS or WebRTC data. Resolve that first before testing the kill switch.
Also confirm in your VPN app that the kill switch is enabled. In PremierVPN's apps, this is in the settings panel. If you are unsure how to find it, the setup guides for Windows and macOS walk through the relevant settings.
Step Two: Force the Tunnel to Drop
This is the core of the test. You need to simulate a tunnel failure—not a clean disconnect, which is a different code path in most VPN apps, but an abrupt loss of the VPN connection. There are a few ways to do this:
Method A: Disable your network adapter briefly
On Windows, open Network Connections (search for it in the Start menu), right-click your active adapter—Wi-Fi or Ethernet—and select Disable. Wait two seconds, then re-enable it. This cuts the VPN tunnel without giving the app time to perform a clean shutdown.
On macOS, go to System Settings > Network, select your active connection, and turn it off, then on again. Alternatively, if you are on Wi-Fi, you can toggle Wi-Fi off and on from the menu bar.
Method B: Put the device to sleep and wake it
Closing a laptop lid forces the device to sleep, which suspends the network interface. When you wake it, the VPN tunnel will need to re-establish. This is one of the most common real-world scenarios where kill switches are tested by accident—and where they often fail on poorly implemented VPNs.
Method C: Disconnect from Wi-Fi and reconnect
On any device, disconnecting from Wi-Fi and rejoining the same network gives you a brief window where the tunnel is down but the network interface is live. This tests whether the kill switch engages in that gap.
Step Three: Check What Happened During the Drop
This is the critical part. Immediately after the tunnel drops—before the VPN app has had a chance to reconnect—switch to your browser tab with the IP leak test and try to reload the page.
You are looking for one of two outcomes:
- Pass: The page fails to load entirely. You see a network error, a timeout, or a browser message like "No internet connection". This means the kill switch is blocking traffic correctly. Your real IP has no way to reach the outside world.
- Fail: The page loads and shows your real IP address. This means traffic escaped during the tunnel drop. The kill switch either is not working or was not fast enough to engage before your OS fell back to the unprotected connection.
If you get a network error, wait for the VPN to reconnect automatically, then reload the page again to confirm your VPN IP is back. That is the complete expected behaviour: blocked while the tunnel is down, protected IP once it is restored.
Common Reasons a Kill Switch Fails This Test
If your kill switch did not pass, there are a few likely explanations:
- The kill switch was not enabled. Double-check the setting. Some apps have it off by default.
- You performed a clean disconnect rather than a tunnel drop. Using "Disconnect" in the app usually bypasses the kill switch by design—it is an intentional action, not a failure. The test has to simulate a sudden, unintended drop.
- App-level kill switch with the wrong app nominated. If you protected your torrent client but tested with your browser, the browser traffic will escape. Make sure your test app is covered.
- The VPN reconnected faster than you could reload the page. On a strong connection, WireGuard in particular can re-establish a tunnel in under a second. Try using Method A above and leave the network adapter disabled for five seconds before testing.
Why WireGuard Complicates—and Simplifies—This
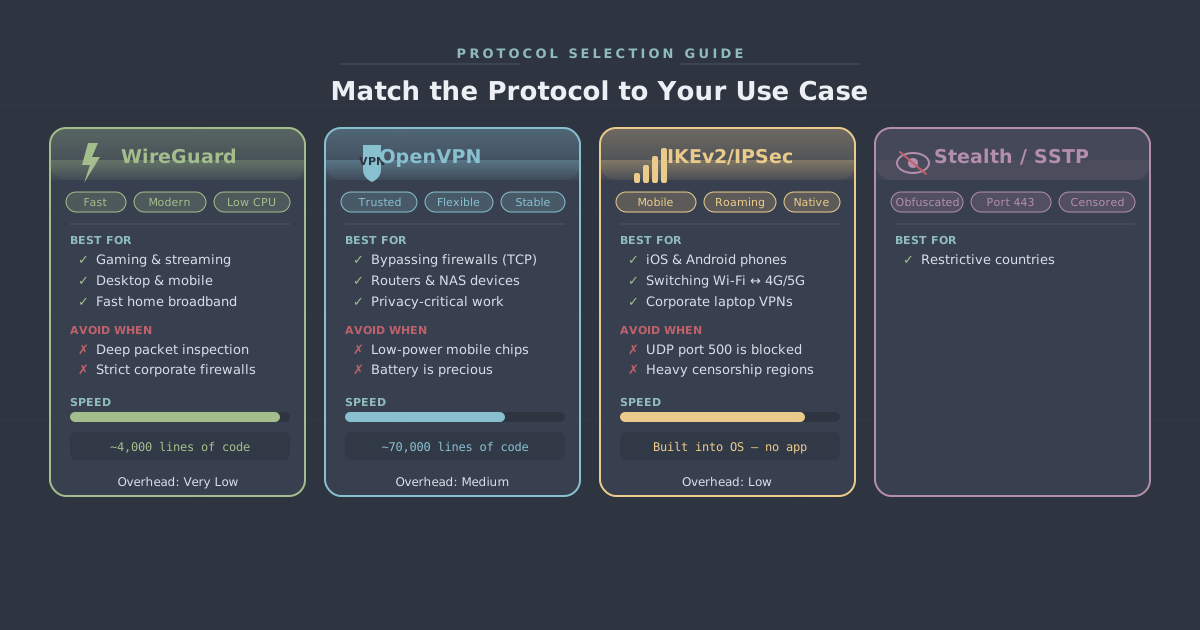
WireGuard is stateless and reconnects extremely quickly after a network interruption. This is mostly a benefit: your tunnel comes back before most apps notice it was gone. However, it also means the window in which a kill switch needs to act is very short. A well-implemented kill switch handles this by blocking at the firewall level the instant the tunnel interface goes down, regardless of how quickly WireGuard tries to recover.
PremierVPN uses WireGuard as its default protocol. If you are on a restrictive network where WireGuard is blocked, PremierVPN X uses VLESS+REALITY, which is designed to be harder to detect and block. The kill switch test procedure is the same regardless of which protocol is running underneath.
Running the Test on Mobile
The same principles apply on iOS and Android, though you have less direct control over the network adapter. The simplest method is toggling Aeroplane Mode on for three seconds and then off again. As soon as Aeroplane Mode turns off and before the VPN reconnects, attempt to load the IP leak test page.
On iOS, the system VPN framework handles kill switch behaviour differently from desktop operating systems, and the result can depend on your iOS version and VPN configuration. If the page loads and shows your real IP, check whether the iOS app settings have a kill switch or "always-on VPN" option enabled, and refer to the iOS setup guide to confirm the configuration is correct.
How Often Should You Run This Test?
Once after initial setup is a reasonable minimum. After that, run it again whenever:
- You update your VPN app to a new version
- You upgrade your operating system
- You change VPN protocols or switch to a different server location
- You move the device to a new network environment (a new office, a travel location, a different router)
OS updates in particular can interfere with the low-level firewall rules that kill switches rely on. It takes ten minutes to check and gives you concrete proof the protection is holding.
Practical Summary
The test has three steps: confirm your VPN IP is showing correctly, force the tunnel to drop abruptly, and immediately check whether traffic is blocked or leaking. A pass looks like a browser error; a fail looks like your real IP appearing on screen.
If your kill switch passes, you have verified something genuinely useful—not just that a setting is toggled, but that the protection it represents is real. If it fails, you now know to investigate the configuration before assuming you are protected. Either way, you are in a better position than before you ran the test.
PremierVPN's no-logs policy means we do not record your activity—but a no-logs policy only matters if your traffic is actually going through the VPN in the first place. A working kill switch is what ensures that remains true, even when the connection is unstable.